
Edit a login
Rename an Account or enter a new password and server for its login.
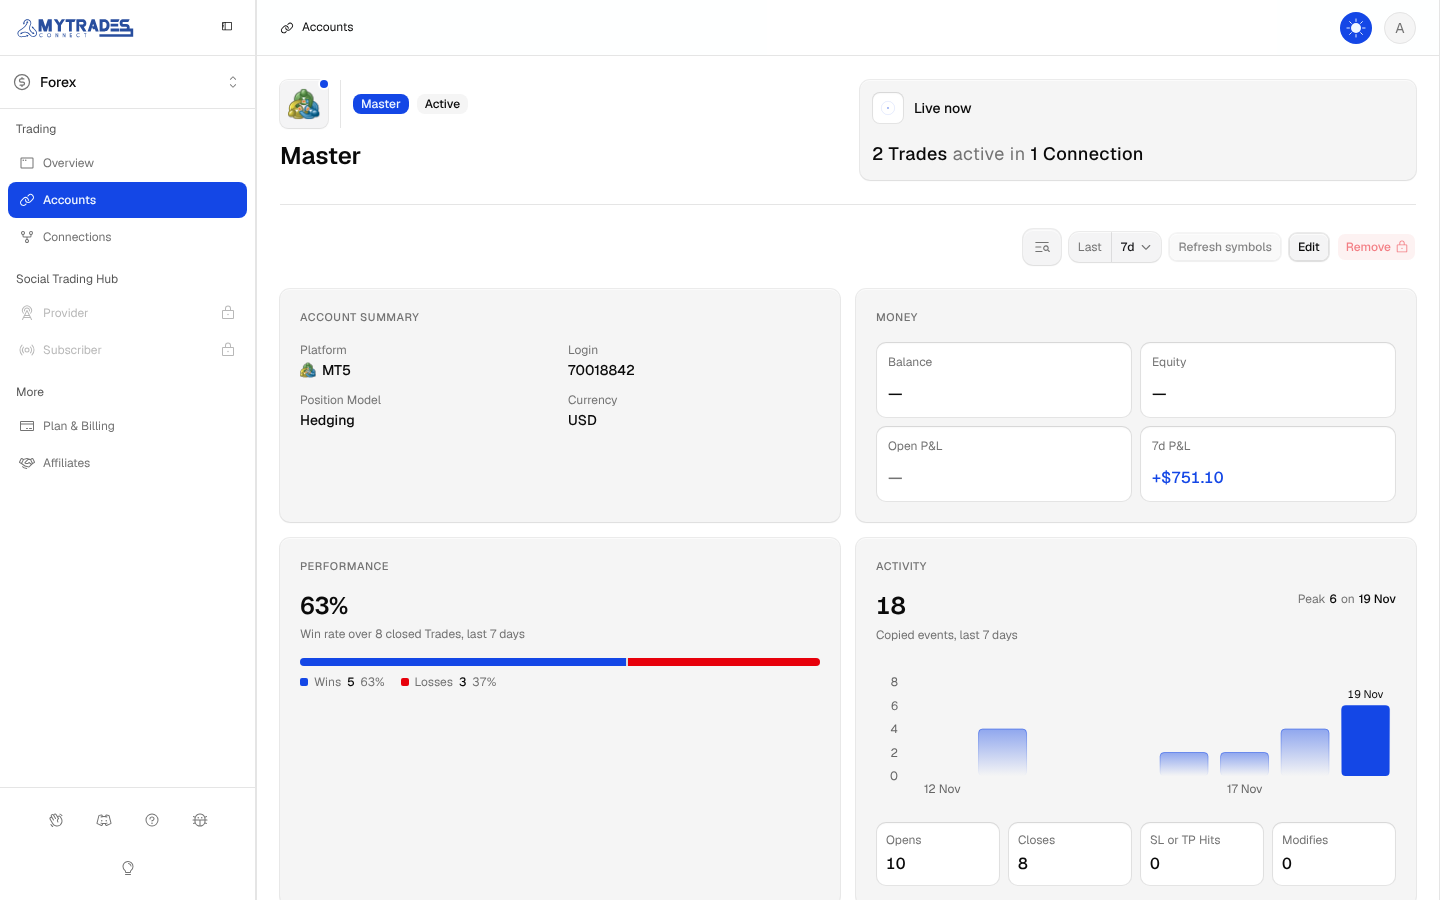
Open the Account in Accounts and select Edit. The wizard walks through the same steps as Add, with the parts that belong to the Account locked.
What you can change
- The name of every Account under the login, and which of them are included.
- The password and the server, together. On TradeLocker, the email, password and server, together. On DXtrade, the username, password, server and domain, together. On Rithmic, the user, password and system, together.
- On cTrader, Tradovate and NinjaTrader, the login itself: select Connect and approve MyTradesConnect again.
The Trading Platform, Cloud or Local IP and the login number stay as they are. A different login number is a different Account: remove the Account and add the new one.
Change the password or server
On the Credentials step, enter the new Password and Server. Leave both blank to keep the saved ones. If you fill one, fill the other too, because MyTradesConnect logs in again with both. A TradeLocker login asks Email, Password and Server, and you fill all three or leave all three blank. A DXtrade login asks Username, Password and Server the same way, and its Domain under Advanced starts at default again: if your broker gave you another domain, enter it there too. A Rithmic login asks User, Password and System the same way.
On cTrader, Tradovate and NinjaTrader, select Connect to approve MyTradesConnect on the platform's page again. A Tradovate or NinjaTrader login keeps its Demo or Live type. The Accounts keep their Connections.
MyTradesConnect checks the new login before saving. If the platform refuses it, its reason shows and nothing changes. The new login must still reach every Account under it, so it cannot swap one login for another.
Saving a read-only investor password is refused when the Account is a Receiver, because a Receiver has to place Trades.
Rename or choose Accounts
The last step lists every Account under the login, with the one you are editing always included. Change an Account name, tick or clear Include, and select Save. When your plan is full, clear one Account to include another in its place. A name shows across the app and changes nothing on the platform.